How to create a Lesson using the Dialog Cards Component?
Using this component, you can create a set of cards with corresponding words or expressions on either side of the cards. User can view the hint on front side and corresponding word on back side.
When to use this Component
Dialog Cards can be used as a drill to help learners memorize words, expressions or sentences. Dialog Cards can be used in language learning, to present math problems or help learners remember facts such as historical events, formulas or names.
How it works
-
User views the question on one side of the card and clicks the Turn button.
-
The card is flipped and the answer on the other side is shown.
-
Once the user has viewed the correct word, the Turn button will be disabled.
-
Click on the Next navigation button to view the next card.
-
Continue flipping all the cards to find the answers on the other side.
-
You can navigate between all the cards using the navigation buttons.
-
Once you’ve explored all the cards, Retry button appears below the last card with the text “This was the last card. Press Retry to start over.”
-
The user can start over by clicking the Retry button.
Features of this Component
-
You can add Tips text for the questions and answers.
-
You can add as many dialogs as possible in a page.
You can create a page using this component by following the below steps.
Step 1: Go to the required Slide
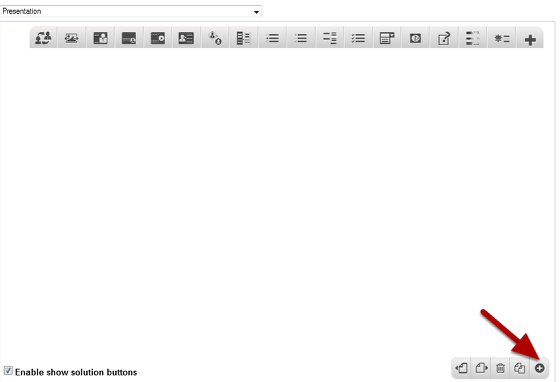
If you are creating a new Presentation, you will be taken to the first slide where you can use this component and create a page. Alternatively, if you want to add a new slide where you want to use this component, click on the '+' icon on the lower right corner as shown in the above image.
Step 2: Click on the Dialog Cards Component Icon
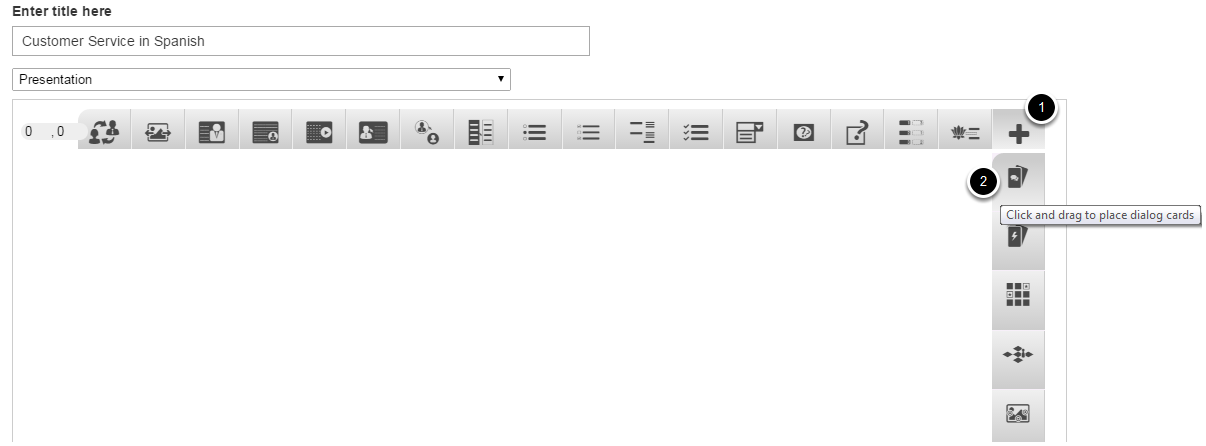
Click on the More elements [1] then click on the Dialog Cards [2] component icon as shown in the above image. You will see a screen similar to the image shown below.
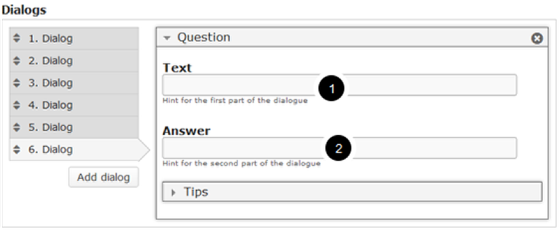
On this screen, you can
-
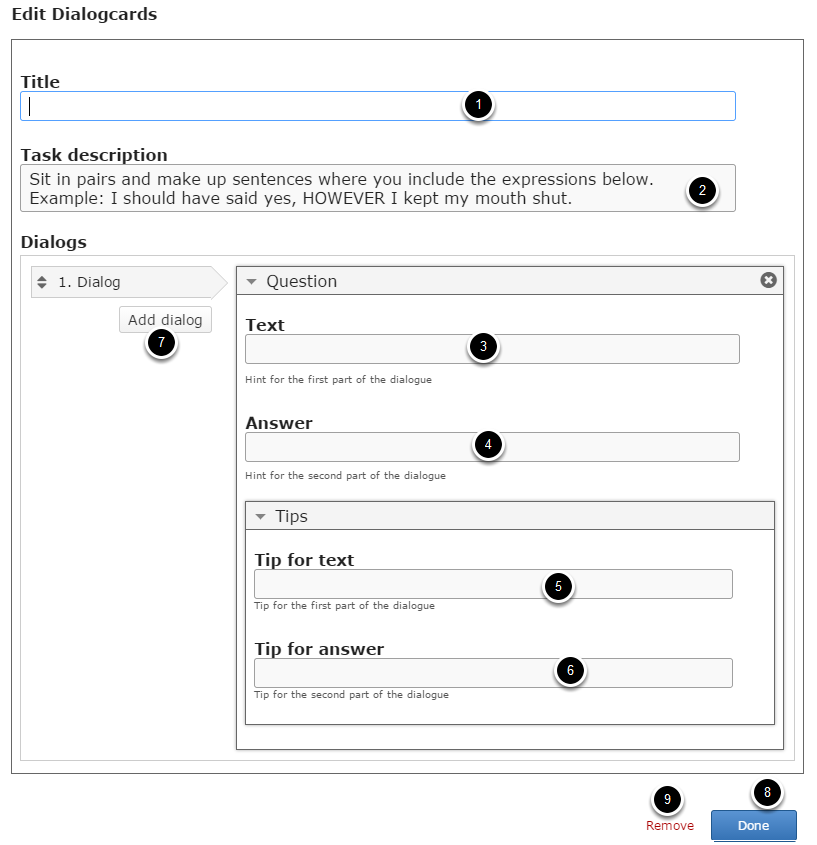
Add a title by typing it in the Title [1] field.
-
Add the Task description text or contents on the Task Description [2] field.
-
Add a question in the Text [3] field under the Question title. This field is mandatory and must have some text in it.
-
Add an answer for the dialog in Answer [4] field. This field is also mandatory
-
Add tips of the question in Tip for text [5] field under the Tips title. This field is optional.
-
Add tips of the answer in Tip for answer [6] field. This field is optional as well.
-
Add more dialogs by clicking on the Add dialog [7] button.
-
Click on the Done[8] button to save the changes.
-
Remove the component from the page by clicking Remove [9] button.
Step 3: Add a Title
This title will remain unchanged throughout the set of cards. Type the title for the lesson in the Title field. This field is mandatory and must have some text in it.
Step 4: Add Task Description (Optional)
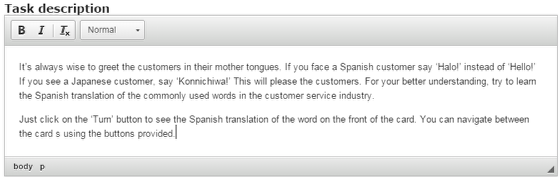
You can add contents to the Task Description field as shown in the above image. Just type the contents of the description in the Task Description field as shown in the above image. You can also change the format of the text. Please note that this field is mandatory. By default, this field will have the below text.
Sit in pairs and make up sentences where you include the expressions below.
Example: I should have said yes, HOWEVER I kept my mouth shut.
In this field you can give some elaborated instructions to the learners. The Task description is displayed throughout the entire set of the cards below the Title field and it remains static.
Step 5: Add Dialogs
To add a Dialog Card to the page, update the Text [1] and Answer [2] fields.
Step 6: Enter the Question
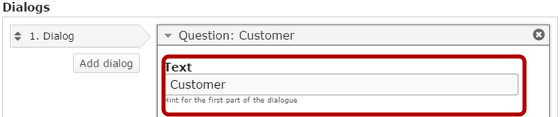
Start entering the question in the Text field under Question title. Please note that this field is mandatory. You should now have something like the above image.
Step 7: Enter the Answers
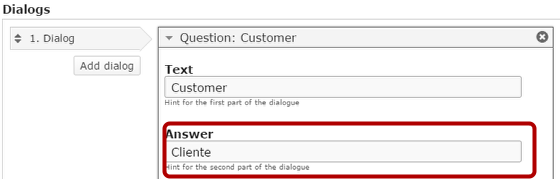
In the Answer field, type the correct answer. This text will be displayed on the other side of the card. This field is mandatory too. You should now have something like the above image.
Step 8: Update Tips (Optional)
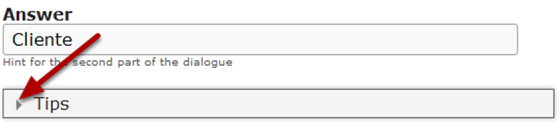
You can add tips for the questions and answers optionally. So, when the user hovers the mouse above the hint icon, the updated hint will appear. To update the tips, click on the arrow button with title Tips as shown above.
Step 9: Enter Tips for the Question (Optional)

This is the hint that will be shown when the user hovers the mouse over the icon in the question field. Just type the tip in the Tip for text field. This field is optional.
Step 10: Enter Tips for the Answer (Optional)

This is the hint that will be shown when the user hovers the mouse over the icon in the answer field. Just type the tip in the Tip for answer field. This field is optional.
Step 11: Add more Dialogs (Optional)
By default, there are only one Dialog is available at the beginning. If you want to add another one, click the Add dialog [3] button as shown in the below image.
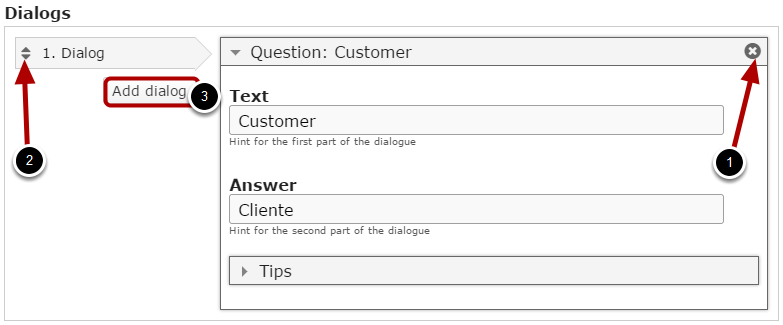
Another dialog will be added after you click the Add dialog button. You can remove any question by clicking the X [1] button on the top right corner of the Option window. You can also change the order of the dialogs by dragging the Double Headed Arrow [2] button on the top left corner of the Option window. Similarly, you can add as many dialogs as you want.
Step 12: Click the Done Button
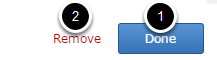
Once you've updated all the details, click the Done [1] button shown above to complete editing the page. You can cancel creating the page just by clicking the Remove [2] button shown above. If you click the Done button, you will see the below screen with a preview of the created page.
Step 13: Click the Create Button
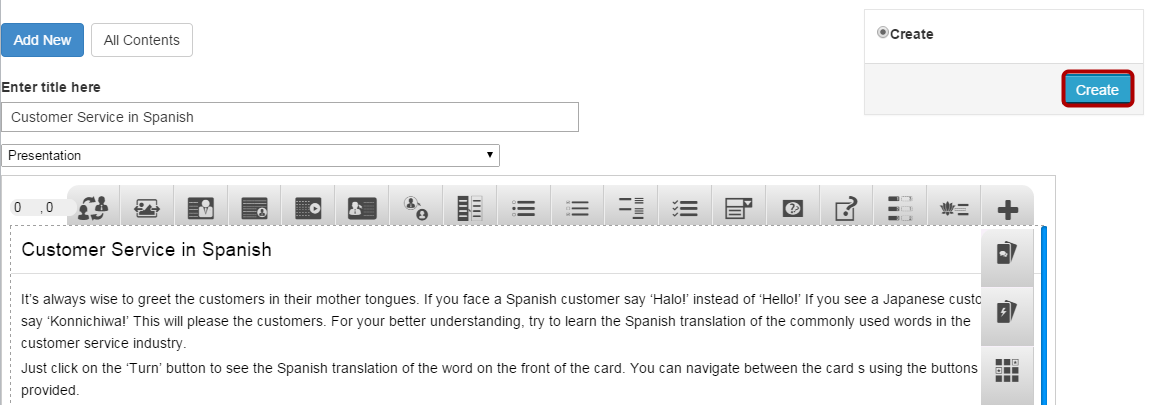
If you still want to edit the page, just double click on the preview page, and you will be taken to the Edit page. If you've done all the changes, you can click the Create button as shown above picture to finish editing the page.
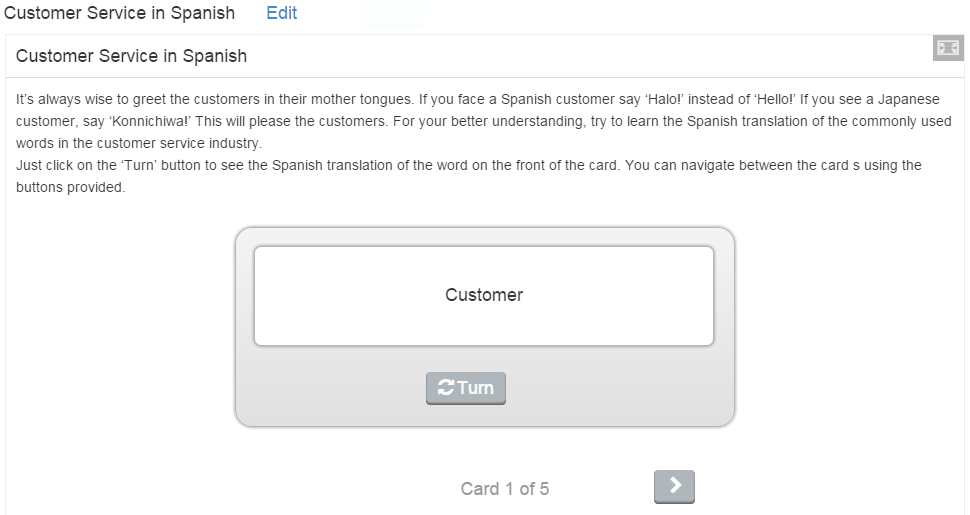
You can see the finished page as shown in the above image.
Notes
-
You can create any number of dialogs in a page using this component.
-
You can create as many pages as possible in a Presentation using this component.
-
Once you have turned the card, you can’t flip it back. But you can start over with the entire cards.
-
The Retry button will appear only you’ve turned all the cards.